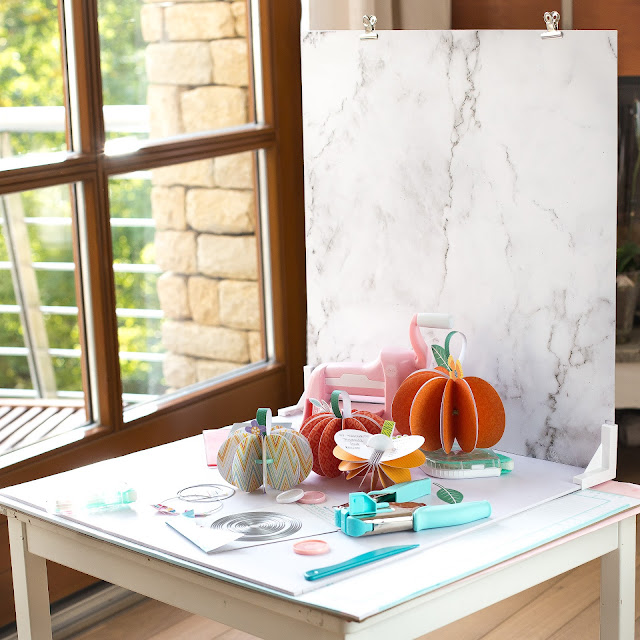
And the best part is that you can add short messages to the back of the orange paper pieces (good wishes, a fall bucket list, or a favorite fall recipe) and it will become a nice gift that you can give to your loved ones!
Click here to watch a short tutorial on my IG.
To create the pumpkin decoration first I used my Trim Board by We R Memorykeepers to trim down the patterned paper into 4×3” and folded the paper pieces in half.
Now I grabbed a 3” wide circle dies. To create the pumpkin shape, I needed to use only a part of the circle, so I hid a small part from it using washi tape.
I placed the circle die onto the folded paper and aligned the fold to the washi tape and rolled it through the Mini Evolution Machine.
To finish the pumpkin, I added a little stem and leaves to the top. You can use a hot glue gun to attach the stem to the binding disc if needed.
One more tip:
If you would like to take photos of your pretty pumpkins, I show you my go-to technique to do that! First I stand my WRMK Photo Background on a smaller desk and choose a pretty background from the collection. Next, I place the pumpkins and props close to the background and place a light on the left side of the desk. (On the right side there is natural light). Now I place my camera in front of the desk at the same high as the pumpkins. Now everything is ready for a pretty photo!


No comments:
Post a Comment