Hey
everyone, I am kicking off ‘Designer Destination’ week
on the Crate Paper blog. Heritage collection joined Designer Destination at
Joann Stores and apart of a wide range of embellishments they offer a special
Project Pad. This Project Pad includes patterned papers, glittered papers,
cardstock papers, and stickers. For today’s
project, I was inspired by the beautiful cardstock papers from the Project Pad.
As I went
through the gorgeous papers in the Project Pad, I decided to use them up to
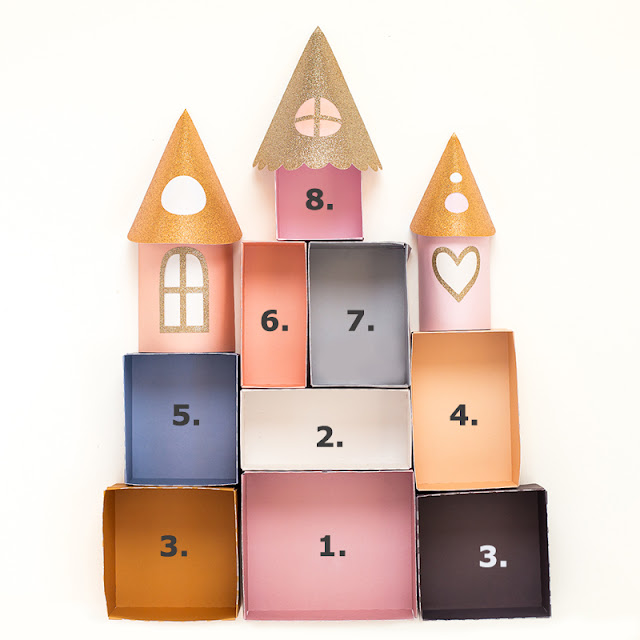
create a home decoration. My idea was to make a bunch of paper boxes and turn
them into a house or castle shape.
When I
arranged all the boxes in place, I adhered gold roofs to the top of the boxes,
and decorated them with doors, windows, and stickers from the Project Pad.
I filled
the boxes with mini books, cards, and craft supplies, and placed on my
daughter’s desk. It is not only a nice little gift to be able to show my
daughter but it’s also a useful storage surface and a gorgeous addition to her
room.
I’ve got a quick tutorial to share with you, showing how I put this project together.
Cut 9 boxes
in different sizes from cardstock papers. Cut 3 pieces of roof shapes using
glittered cardstock. Put together the boxes using liquid adhesive or stapler.
If your
paper is thin, make the boxes stronger with adding heavy cardstock stripes
between the layers to the edges.
Arrange the
boxes into a castle shape, add towers and roofs.
Place the
boxes to a heavy cardstock background, and draw around the castle.
Cut out the
background, and adhere to the castle to the heavy cardstock background. Adhere a
wide cardstock stripe to the bottom of the castle to add more stability. Decorate
the castle with stickers and embellishments.
Thanks for stopping by the blog today, I hope you have found today’s post inspiring! Be sure to check back this week to see some of our other designers’ projects!
Supplies:
Heritage collection |Project Pad (350992), Ephemera Pack (350948), Cardstock
Stickers (350945), Charms (350952)


No comments:
Post a Comment