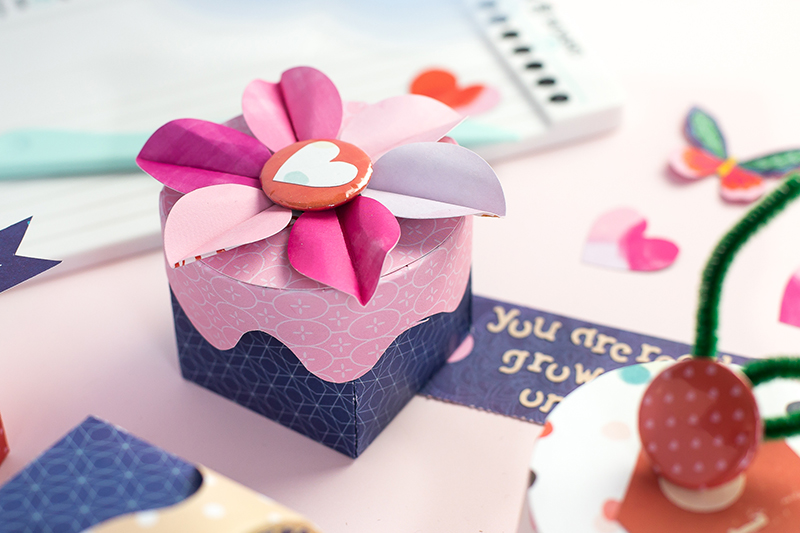
I chose the easiest way to create the base of the boxes. I grabbed my Explosion Board, trimmed down patterned paper into 6×6″, and created an XXS box.
Next, I used the large cutting die of the Button Press and cut two big circles. These circles go to the top of the box. I trimmed a 1.5″ wide paper stripe, fold it at 0.5″ on the top, and fussy cut a wavy line on the bottom. I cut tiny notches to the top of the strip and curved around the paper circle. I attached the second circle to the top using liquid glue.
Now came the “cherry on the top”! I chose a lovely patterned paper with tiny hearts from the Go the Scenic Route collection by Paige Evans and created a small button with my Button Press. I love how cute is that red button, a perfect tiny gift for Valentine’s Day!
I poked a tiny hole to the center of the box’s top and pierced through a piece of green pipe cleaner as the stem of the cherry. I pinned the red button to the pipe cleaner, and voila! it became a sweet cherry on the top of a cupcake! It’s easy to remove the button so it can use as packaging and as a gift, win-win!
I made another design for the top of my “cake” box, a lovely flower with a pretty button in the center. It’s super easy to create that flower, the only thing you need is your Button Press! First, create a cute small button with your design. I fussy cut a heart shape and placed the center of a red paper to create mine. Next, cut six more circles using the small cutting die of Button Press. Fold the circles in half, and fold back the bottom corner a little bit.


No comments:
Post a Comment